English
 中文简体
中文简体
Content
- 1 Choosing the Correct Internal Snap Ring in Three Steps
- 2 How Internal Snap Rings Retain Components Inside a Bore
- 3 Internal vs External Snap Rings at a Glance
- 4 Material and Coating Choices for Different Operating Conditions
- 5 Installing an Internal Snap Ring Without Damaging the Bore
- 6 Installation Mistakes That Lead to Premature Failure
- 7 When to Inspect and Replace an Internal Snap Ring
Choosing the Correct Internal Snap Ring in Three Steps
An internal snap ring must match the bore diameter, groove width, and the radial load it will carry. Get any one of these wrong and the ring either won't seat in the groove or will pop out under vibration. The bore diameter tolerance should stay within ±0.05mm of the ring's free diameter, and the groove depth should retain at least 40% of the ring's cross-sectional thickness once installed. Skipping this check is the single most common cause of early snap ring failure in gearboxes, hydraulic cylinders, and bearing housings.
Before ordering, confirm three things: the housing bore diameter, the axial load direction, and the operating temperature range. A ring rated for 200°C will lose spring tension well before that point if the base material is standard SAE 1060 carbon steel rather than a heat-treated alloy.

How Internal Snap Rings Retain Components Inside a Bore
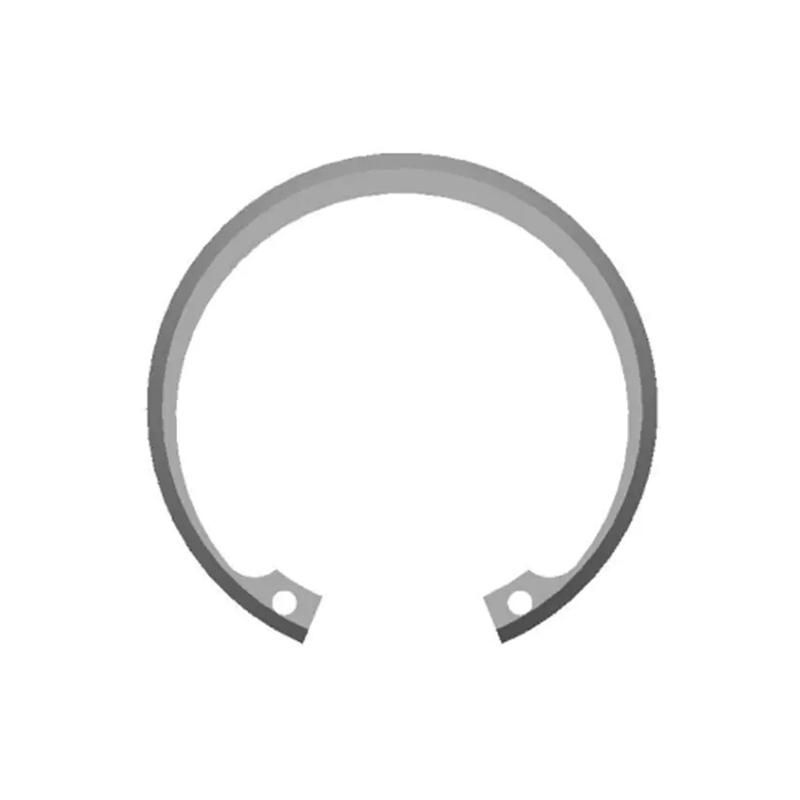
An internal snap ring — also called an internal retaining ring or bore ring — expands into a machined groove cut inside a housing. Once seated, it creates a shoulder that stops a bearing, gear, or shaft component from sliding out axially. The ring works purely in compression: installation pliers squeeze the ring's diameter down so it can pass through the bore, then release it so it springs outward into the groove.
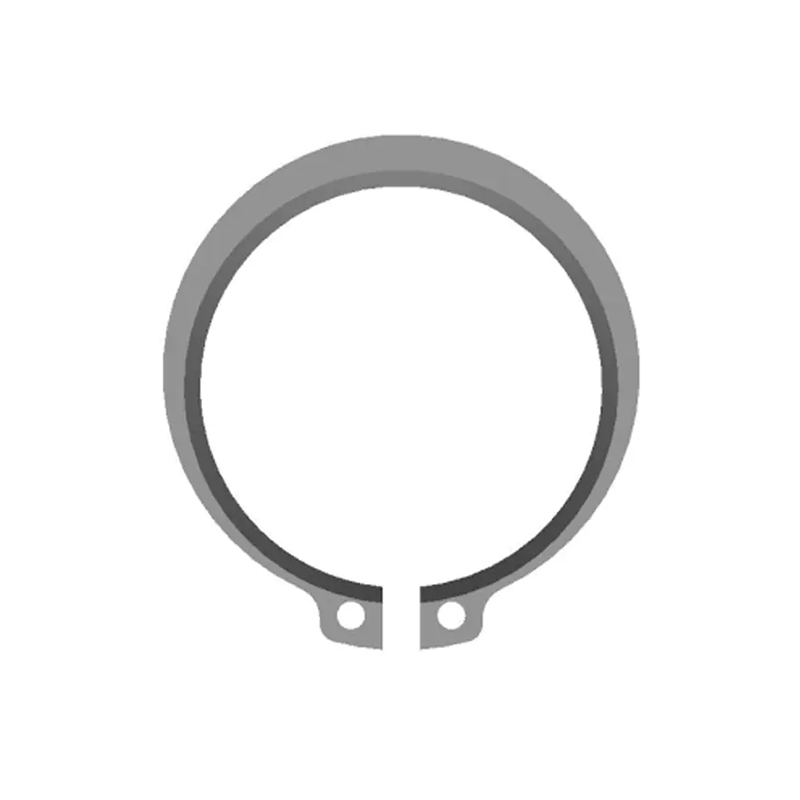
This is the opposite mechanism to an external snap ring, which contracts around a shaft rather than expanding into a bore. Mixing the two up during procurement is a common and costly mistake, since the two ring types are not interchangeable even when their nominal diameters match.
Internal vs External Snap Rings at a Glance
| Quick comparison of internal and external snap ring characteristics | ||
| Feature | Internal Snap Ring | External Snap Ring |
| Installs into | Bore or housing | Shaft or pin |
| Motion during install | Compresses inward | Expands outward |
| Typical pliers tip | Straight or 90° internal tips | Straight or 90° external tips |
| Common use case | Bearing housings, gearbox bores | Shafts, axles, pins |
Material and Coating Choices for Different Operating Conditions
Most internal snap rings are stamped from spring steel, but the base alloy and finish should be matched to the application rather than defaulted to the cheapest stock option.
Carbon steel (SAE 1060–1075)
Standard choice for indoor, dry, low-corrosion environments. Zinc phosphate or black oxide coatings add basic rust resistance but won't hold up outdoors or near coolant spray.
Stainless steel (302/17-7PH)
Required for food processing, marine, and chemical equipment. 17-7PH retains higher spring force at elevated temperature than 302, making it the better pick for engine-adjacent housings.
Beryllium copper
Used where sparking is a hazard, such as in mining or petrochemical equipment, since it's non-sparking and non-magnetic.
Installing an Internal Snap Ring Without Damaging the Bore
Correct installation takes seconds but poor technique is the leading cause of scratched bores and rings that pop loose. Follow this sequence:
- Inspect the groove for burrs, corrosion, or machining defects before inserting the ring.
- Select internal-tip pliers sized to the ring's lug holes — undersized tips slip and can crack the lugs.
- Compress the ring only enough to clear the bore diameter; over-compressing beyond the ring's rated flex limit causes permanent deformation.
- Guide the ring in squarely, keeping it perpendicular to the bore axis to avoid canting.
- Release the pliers slowly and confirm the ring has fully seated by rotating it a quarter turn in the groove.
A ring that doesn't rotate freely after installation is usually only partially seated, and that's a strong warning sign it will work loose under load.
Installation Mistakes That Lead to Premature Failure
Field data from industrial maintenance reports repeatedly points to the same handful of errors:
- Reusing a ring that has already been compressed beyond its rated flex — spring steel loses up to 15% of its retaining force after a single over-flex event.
- Using external-tip pliers on an internal ring, which forces the lugs in the wrong direction and cracks them.
- Installing a ring into a groove with the wrong chamfer angle, leaving inadequate contact area.
- Ignoring axial clearance, allowing the retained part to hammer against the ring under repeated load cycles.
When to Inspect and Replace an Internal Snap Ring
Snap rings are wear items, not permanent fasteners. During scheduled maintenance, check for visible gaps between the ring and groove wall, flattened lugs, or discoloration from heat exposure. Any ring that has been removed and reinstalled more than once should be replaced rather than reused, since repeated flexing fatigues the spring steel even without visible damage.
For high-cycle equipment like hydraulic cylinders or automotive transmissions, building snap ring replacement into the standard rebuild kit avoids an unplanned teardown later just to swap a $2 part.